So Sorry it's taken so long. But my bars and tank are done, and I have few pictures here. This is my redone seat. So the seat pan that I have been riding around for almost a year is actually the back up pan. The original as done and it looked so stinking stupid I could not live with it. I was put in contact with a guy named Randy in Springville at
Tumbleweed Leather. He did a bang up job, just what I wanted in the first place. If you need leather work hit this dude up, he is legit!!
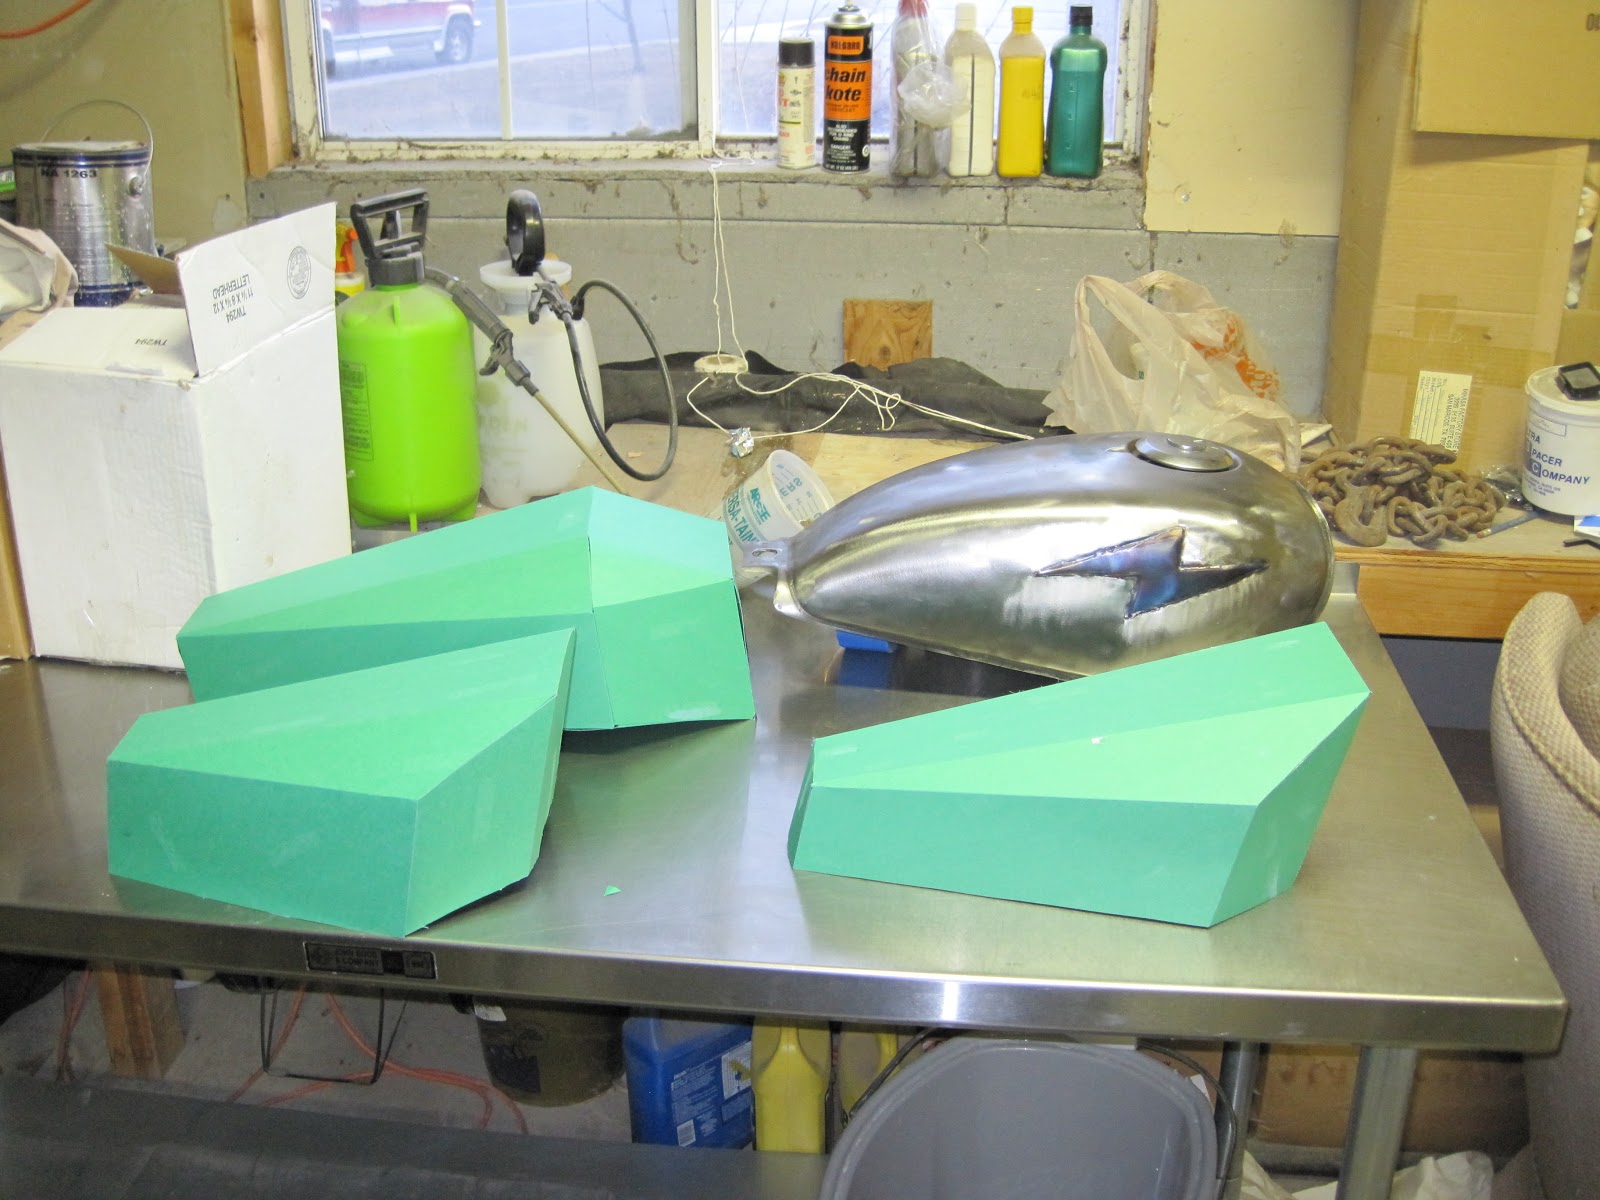
The Tank here is all welded up. I was placing the petcock in the spot I needed it. Interestingly it was more thought provoking than expected. Depending on the angle I put it at would determined how much I could use as a reserve or not. I had to actually think well do I want to have a decent reserve or basically none at all.
So I had welded the tunnel on a piece of flat and then tacked that into the tank. I used my shops air grinder with a cutting disc to trim it out. I looking into using Brady's nibbler, but time was of the essence.
Tunnel freed at last.
I little extra grind work, and then I went back around all the welds, now from what would of been the inside, and I didn't use any filler. In industry it would be called a backing run, just welding the back side of the weld. For some thing that will have to hold fluid this should be a must.
Give me fuel, Give me fire, Give me a gas cap that is centered and I'll be happy.
Don't ask where my camera has been but this is the tank done, check Brady's facebook photo's of
his day in the shop with me. But he'd got some good pics of this tank finished. This here is the front mounts, I went for the hook under in the front to leverage it down.
Here is the back mount. I tell ya having the CNC cutter is awesome for some one off parts.

I use a liner called Red Kote, and I love it. You can get it in a kit like Tank Kreem if you like. But I have had no problems with it, but make sure you have great ventilation this stuff will knock you out.
The old tank mounted back on cuz I wanted to break the new bars in around the schools parking lot. 50mph straight aways, no biggie. I love how the feel, the are so much better than the old ones. Let me tell you this, all you that make bars out there, more power to you! I had all the material cut I just needed to cope the uprights and it took me from 9 till 4 to get this set all welded and polished. I was getting pretty pissed at times, just not lining up, not staying straight, errrr I almost threw them across the shop and said forget it. Sorry this is the only picture of the bars, I was not in the documenting mood at the time, but I think they look good and they ride Great. Brady's got the clear coat hook up, so hopefully not too much longer and we are in business.


 So Sorry it's taken so long. But my bars and tank are done, and I have few pictures here. This is my redone seat. So the seat pan that I have been riding around for almost a year is actually the back up pan. The original as done and it looked so stinking stupid I could not live with it. I was put in contact with a guy named Randy in Springville at Tumbleweed Leather. He did a bang up job, just what I wanted in the first place. If you need leather work hit this dude up, he is legit!!


 I use a liner called Red Kote, and I love it. You can get it in a kit like Tank Kreem if you like. But I have had no problems with it, but make sure you have great ventilation this stuff will knock you out.